Based on a recent survey, we learned from our customers that some people are uncertain of best methods of hanging art in their homes.
We've broken this down into lighter frames and heavier frames and a few descriptions of methods of hanging.
Methods of hanging
Rail systems. Using a rail system which is fixed close to the ceiling against the wall is more of a gallery style of hanging. This is actually a very good and strong way to hang art and it can look great too. Most framing stores provide rail based products based on 1.5 metres and 2 metres. They also come with wires which hang down with adjustable hooks for height. And as the rail suggests, the wires can move along the groove at the top to be placed any horizontal position and with adjustable hooks you can easily adjust the vertical position. The rails are normally very minimal in their design and the effect looks very simple. For a more study solution, ensure the screws are screwed directly into studs and consider using two wires per painting with hooks at the back of paintings.
Hooks screwed directly into walls. Most art can simply be hung with a screw driven directly into the wall. Most art doesn't weigh that much. Then it is a matter of getting the correct height. Remember that the correct height will depend on if the back of the art uses a wire or a hole to hang from. Consider the position of the gear at the back of the art before screwing into the wall.
Types of screws for the wall
For tiles, there is a screw types which work better. It's best to drill a hole in between tiles or bricks before drilling a screw directly into the wall. The type of screw usually has a plastic cover to house fixture pieces. This reduces the likelihood of causing any damage to tiles. At the hardware or framing store - mention what your wall is made from before buying your hanging screws. The shop assistant will be able to guide you to the correct screws to use.
When to use butterfly screw anchors
There is a butterfly style of screw for use on plaster walls. The wings only open after going through the plaster and then as the screw goes in further the wings tighten at the reverse side of the plaster to make the fixture more sturdy. This is designed for use when there is no stud behind the plaster to screw into. But when there is a stud behind the plaster, simply screw directly into the stud making sure you are at the desired height and position. But do not use the butterfly screw for that as it wont be able to spread it's wings behind the plaster as the stud is there.
Using adhesive
There are specific hanging hooks which use adhesive behind them. They are designed to hang lighter artwork without affecting the walls. They can even be used on painted plaster walls. These are great for using for
artwork for kid rooms where you may update the artwork when the kids get older. The way that the hooks are removed is by pulling on a tab which stretches the adhesive thus protecting the paint - rather than just pulling it off. This is great for lighter weight frames. This type of thing can be purchased from hardware stores and is surprisingly strong when applied properly.
Finding a stud
Finding a stud on a wall can be done by using a - you guessed it - stud finder. These can be purchased from hardware stores relatively cheaply. They are battery operated, you move the flat surface across the plaster and when the light goes on - there's your stud.
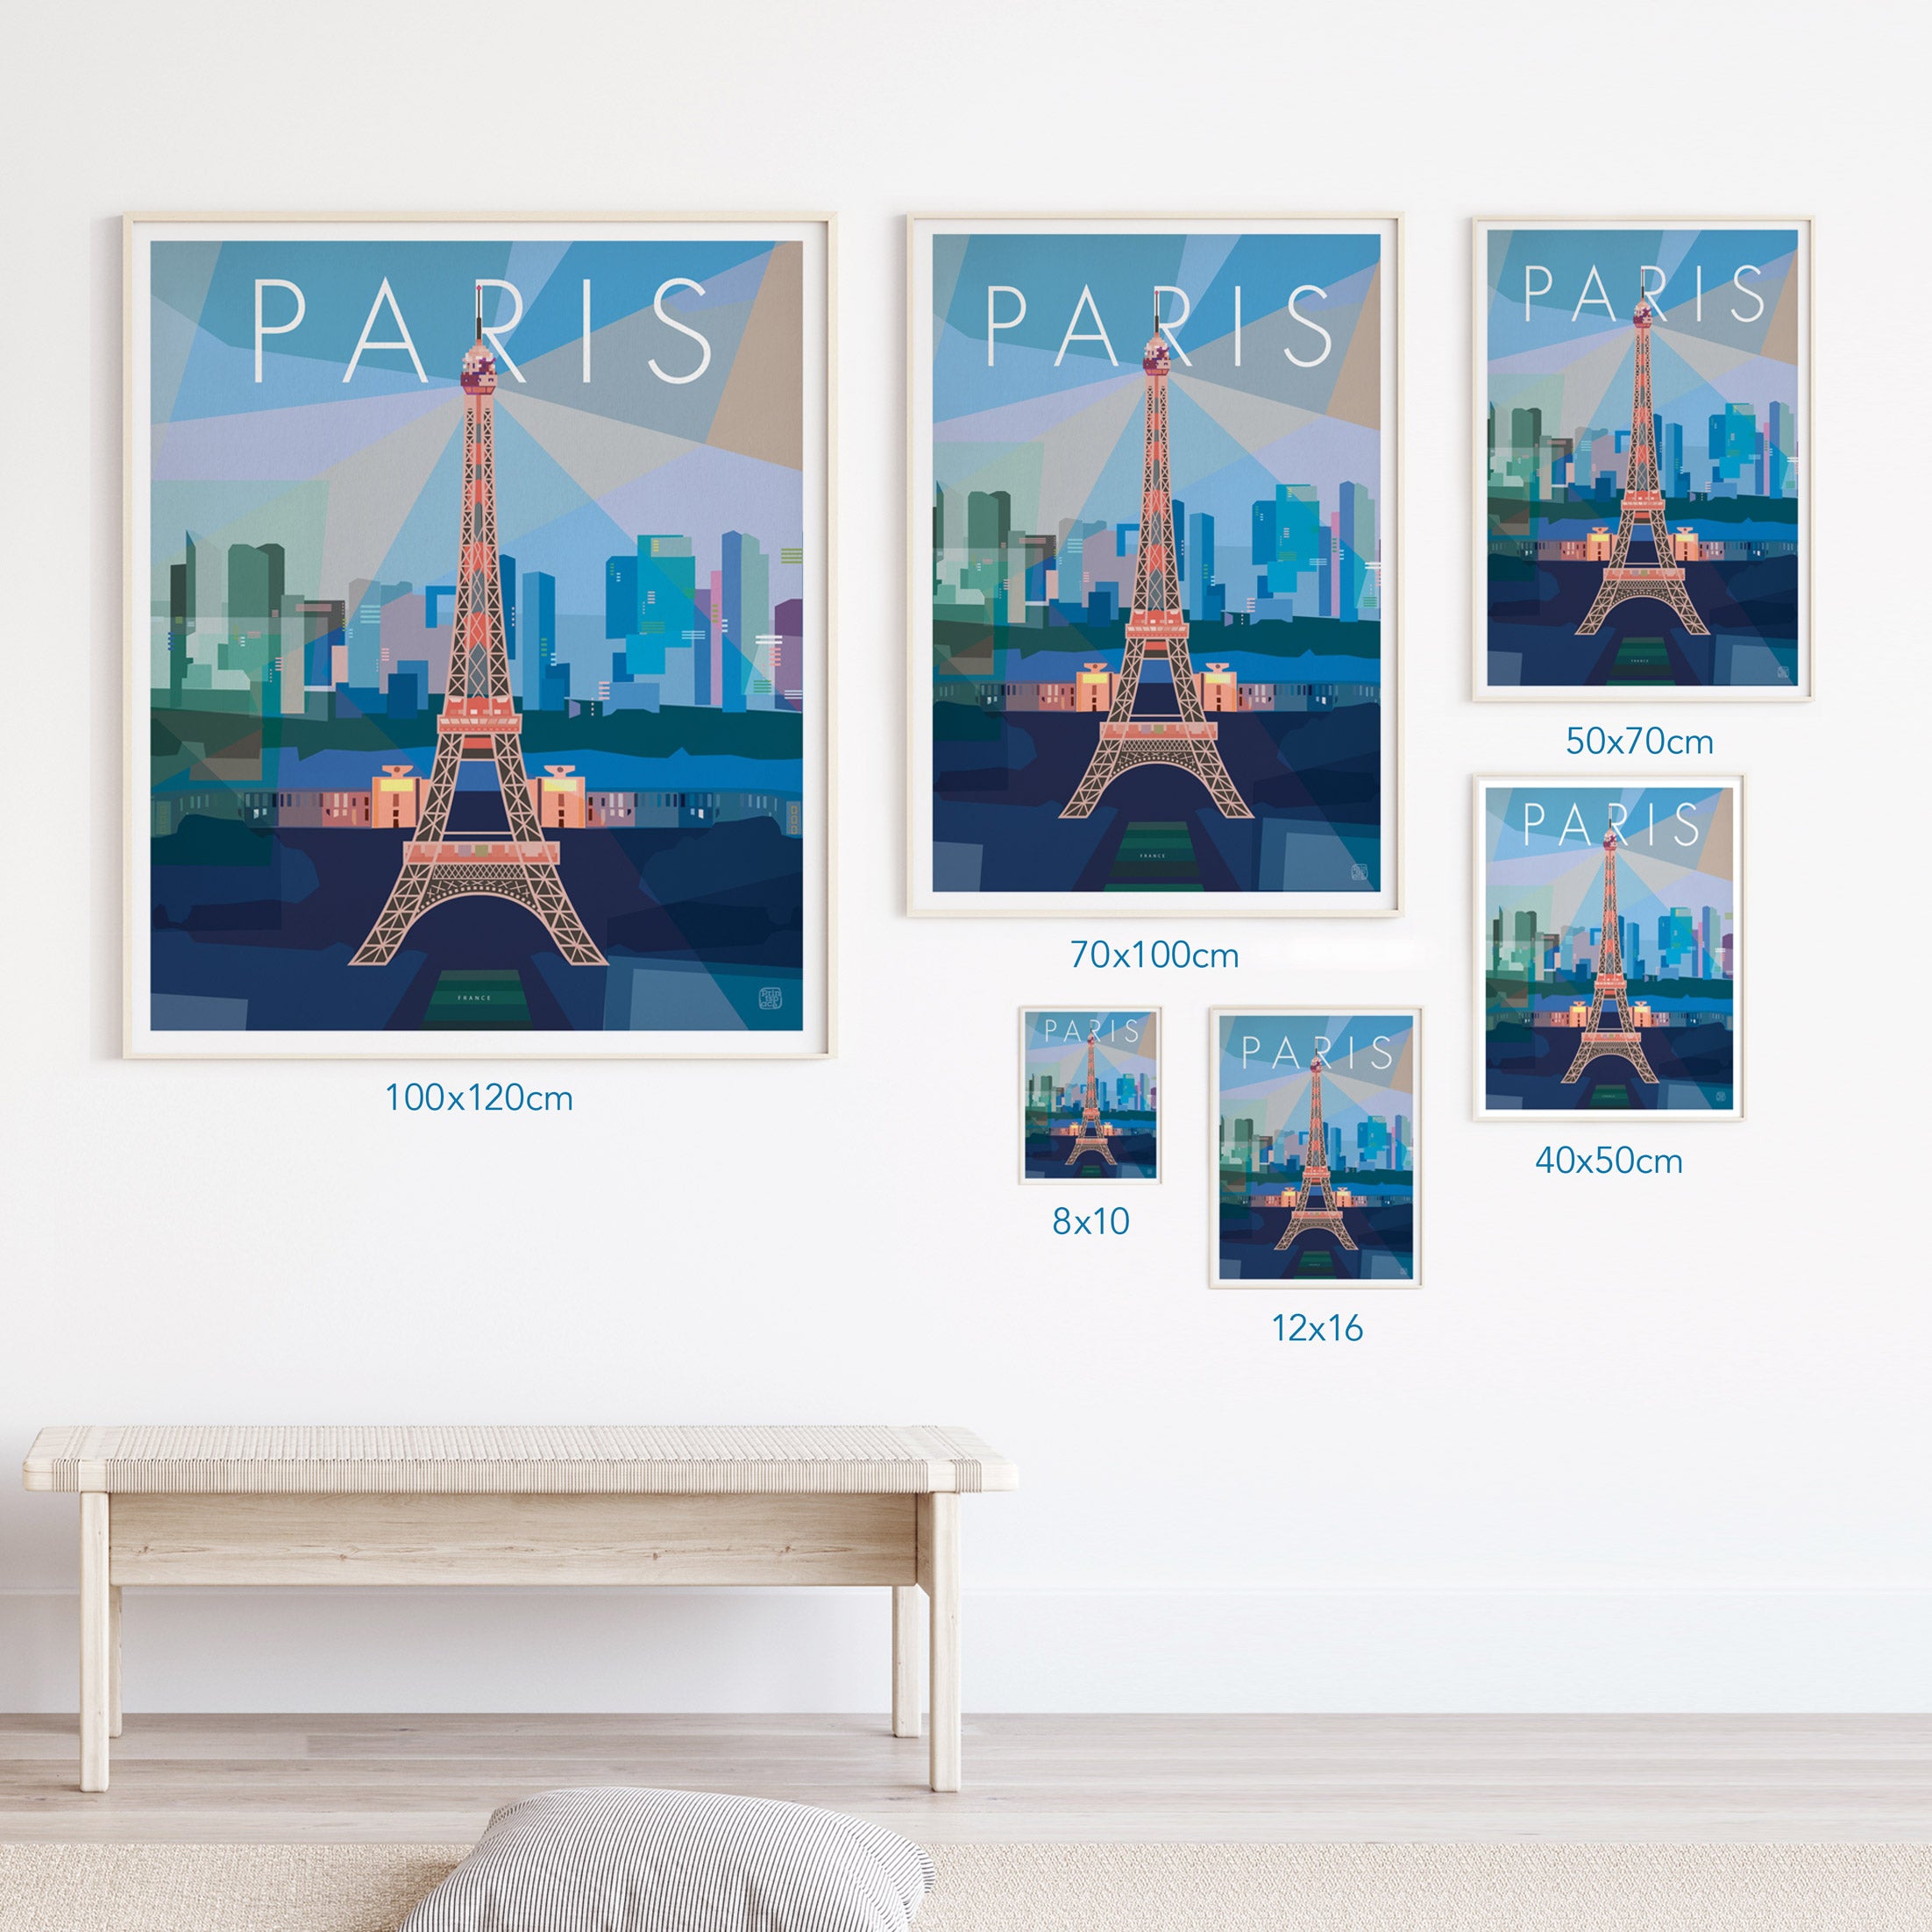
To see our full range of city prints click
here.
Happy framing.
Team PS xx